Here’s a documentation of how I learned Godot in less than a month. I’m no expert but I know my way around now. I also achieved some things I’ve never attempted on this scale before with procedural meshes, so that was exciting. Enjoy this chronological timeline!
Beginning
I always start learning a new engine by getting something to move. This, for me, is the basis of all games and applications. Getting things to move through space is the foundation of creating almost anything in 3D applications.
So here’s my initial achievement of getting a sphere to move through the scene at a fixed rate.
Then I got it moving with the A and D keys, my first utilization of the input system in Godot.
I must say, the input system feels lacking. I wish there were more options for more dynamic input. I like containing things in Vectors, such as mouse input and axis. For example, I prefer that directional input is split between vertical and horizontal axis, which stemmed from my time in Unity3d. This approach allows you to use the input by just writing basic math. Here’s an example:
// pseudo for input mapping. Can be WASD or controller joystick for finer control
Vector2 movement = (AD,WS);
float speed = 1f;

// run every frame
function Update(delta){
  transform.right += delta * movement.x * speed;
}
But since Godot’s input system requires you to map every key as an “action,” you’re limited and must create your own solutions to this. I think Godot can improve on this in the future. For now, here’s what I would call a hack to get a simple vector containing 0s and 1s for on or off input.
Vector2 movement = (0,0);
void _Process(_delta){
  // assign -x to A pressed
  // assign x to D pressed
  // assign -y to S pressed
  // assign y to W pressed
}
When I’m learning new engines or doing a game jam, I often create a prototype I’m comfortable with. It’s a simple game I made one time in a game jam. The game is just a simple spaceship shooter that focuses on very simple gameplay and creating something playable quickly. Sometimes, though, I get distracted.
This is one of those times. I created this spaceship to start.
super simple spaceship model for debugging movement
Then I dropped the ship in the game scene and got it moving forward at a constant speed, like with the sphere. This gif looks trippy if you look at it too long…
After looking more into the input system, I managed to create some simple movement where the ship tilts with your turns.
this one was too long to place as a gif :3
After that, I modelled some weird tunnel things in hopes of creating a procedural trench runner like Star Wars or something along those lines. This really didn’t turn out how I wanted and I ended up replacing it ultimately.
Something notable about these tunnels was that I learned how Godot imports models.
On the left is the blender hierarchy. On the right is what Godot imports. In order to get the real data, you have to enable some import options that honestly I cannot recall at this time. Perhaps when I remember I’ll come back and add my solution, but essentially you have to tell Godot to import the model fully and use all of the mesh instances. An alternative is to place the model in your scene and right click it and then click show mesh hierarchy or some such nonsense like that. You’ll then be given a view much like Unity’s, but I found it to be a clunky experience.
Next, I started experimenting with scale in Godot. It was clear to me that Godot’s large units work a little better than Unity’s.
I then spent some time modelling a spaceship I liked a little more than the little prototype one I had. Sometimes it’s nice to look at some nice art rather than the strictly placeholder stuff. It inspires more, in my opinion. I also only spent around 3 hours total on this model once all was said and done.
I based the model on this image I found from ArtStation. I won’t be using this design for anything commercial, but you can find the original assets here.

Then I started trying out particles in Godot. I’d say particles are good, but like most engines, could be improved. They look great out of the box and don’t have any kind of issue rendering many particles at once. However, they lack many features with forces and world-based movement. Unity also struggles with this, but less so. Alternatives to trails are often found in particles, but I could not get my particles to spawn in world space without being spaced too far apart and refusing to place how I wanted. Perhaps it was user error, but I think the way world particles work is vastly restrictive.
Once I got some nice particles, I decided to add something you can do in the game other than move. So I added the ability to shoot.
I started by creating a Scene file. Scenes are Godot’s alternative to prefabs, which I much prefer over Unity’s system. In Godot, everything is node based and utilizes packed scenes to group elements together. These packed scenes can be used as prefabs, or scenes. Whichever you need is interchangeable and is purely based on how you load or spawn the scenes.
You can Instantiate a packed scene so that it is added into the loaded scene. It’s quite a fun system to work with, actually. This laser bullet I made is a mesh, some colliders segmented across it (I later learned how to scale colliders and converted to one long one), and some nodes containing scripts to propel the bullet and detect collisions.
The laser guns shooting
I had some issues with the bullets while trying to spawn them. Rotations, in my opinion, are Godot’s kryptonite. I have never had so many issues learning a rotation system.
Godot uses something called a Basis. This is a matrix of rotations and scales for a Transform (a gameobject, essentially). This means that in order to do most things I am used to, I had to learn a new system. My brain hated learning this, but once I started to understand it more, it wasn’t so bad.
One example of how this hurt my brain was when I tried to make a lookat function. I wanted to just alter the forward direction of the object to face the vector that points from origin to target. So I tried setting the Basis.Z value to the direction vector. This should have worked, but I did not realize that you would also be changing the scale when changing the Basis.Z value. As such, I spent many hours learning how to fix this.
In the end, I learned that you should set a variable of type Basis to the object’s Basis that you are trying to alter the rotation of; store the object’s Basis in a variable. Then, set the variable’s Z to the direction. Update the scale to be Vector3.Identity, and then overwrite the object’s basis with this variable.
Something like this, if my explanation was as bad as I think it was:
// 1st "Basis" is the type, 2nd "Basis" is a reference to this node's Basis. Confusing.
Basis b = Basis;
b.Z = dirVector;
b.Scale = Vector3.Identity;
Basis = b;

// for the love of god don't use basis 3 times like this lol
Basis basis = Basis; // <- cursed
In the end I was able to just do something close to this for the bullets to face their velocity’s direction:
LookAt(GlobalPosition + dir, Vector3.Up);
Here’s the full code for this:
After banging my head against the wall for a bit, I switched directions and found the Path node. I think this is a really nice feature and I look forward to finding uses for it in the future.
Path-based track (not procedural)
After this I wanted a simple menu to test the UI a little bit. So I made a simple scene using blender.
My inexperience with SSR and different rendering techniques caused very odd effects, so I ended up not using them… however, I can see how this could look good, if I knew what I was doing.
I also discovered that Godot’s reflection probes are far more limited than Unity’s. I can create reflection probes in unity that correctly demonstrate the scale of objects. In Godot, the perspective of the reflection probe causes very strange rotation and scale issues that I’m sure stem from perspective. I could not find a workaround for this.
While I worked on this scene, I installed the Nuget package Newtonsoft so that I could more easily work with JSON files. I then created this simple color selector so you can select the color of your ship. This is completely unnecessary, but extremely helpful for learning JSON and UI at the same time in Godot.
Here’s my code for obtaining json from a file using Godot & Newtonsoft:
I also modelled this little guy for the menu scene. He just kind of roams around with his lil buddies.
OK. Let’s move on from the menu scene for a bit. Actually, we might not return for awhile. It was at this point that I became completely distracted by the fact that Godot’s mesh manipulation is quite easy to understand. I immediately put this to use and generated a plane with some bumps.
I was able to achieve this very easily using the FastNoiseLite, which Godot provides with multiple types of noise such as Perlin and Cellular, with smooth versions of each. I was having a blast with this. I stitched multiple meshes together seamlessly, and began my journey into procedural world generation.
Stitched planes
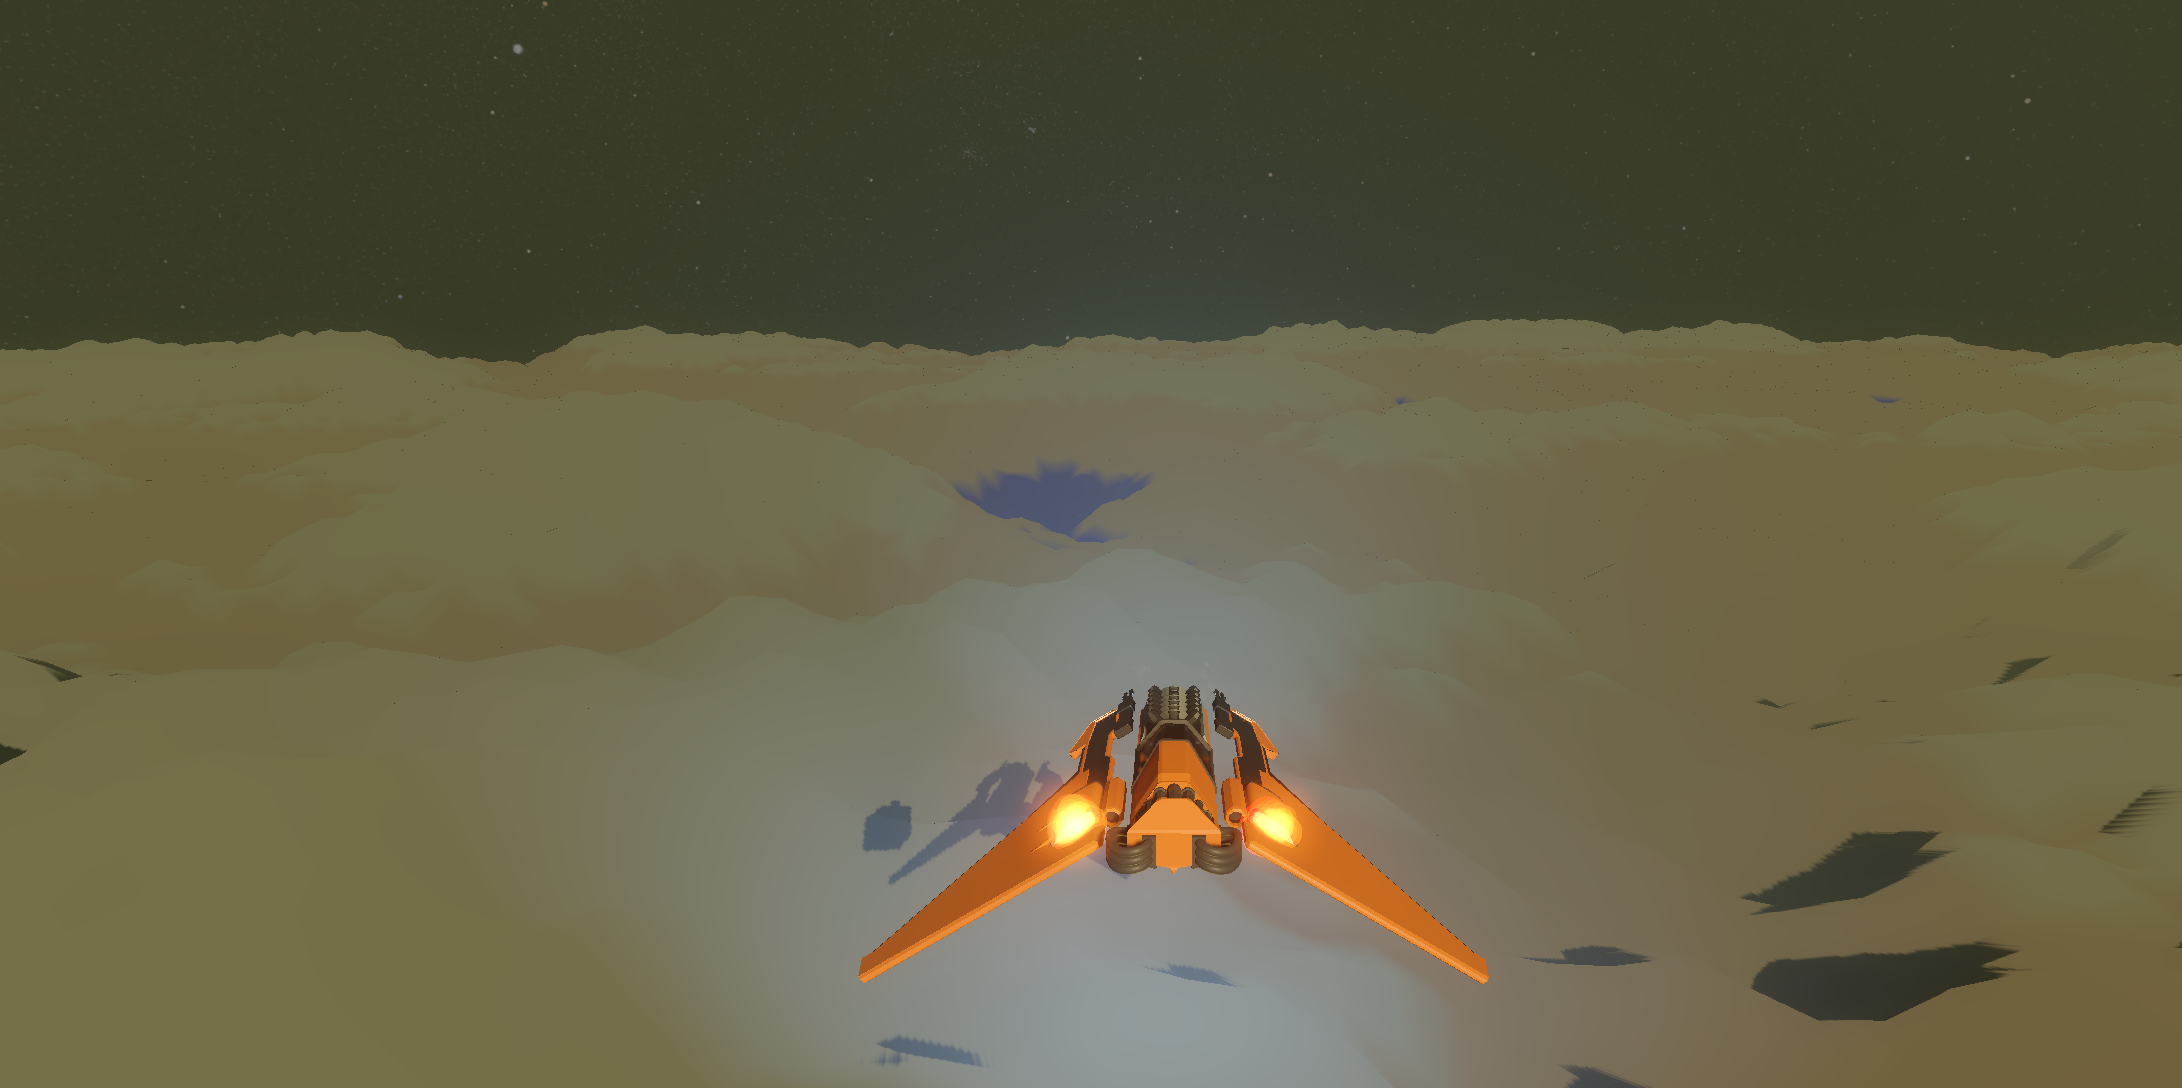
I immediately took to adhering the ship to the terrain
Ship stuck to plane by vertex position (using raycast)
Here’s a pastebin of my generator code at this point in the project: https://pastebin.com/MUqt4EGe
I got a little excited about the project at this point and decided to go further than I normally would with this one. I started brainstorming some things I would like to add if I find the time. This is a passion project and nothing more, but I find myself coming back to it quite often.
Here’s a notepad I wrote in an attempt to put my thoughts on virtual paper. It was ambitious on purpose just to see what would pop into my head. Not everything here is a serious venture, but a lot of it is inspiration for things I could work on in my spare time.

Here’s a collage of “WTF” moments in my terrain adventures:


Here’s an idea I had for a boss (very out of scope):
Here’s my initial attempt at some water
I wasn’t sure how to approach this, but knew I wanted to expand my knowledge of shaders. After some trial and error, I eventually began to realize that shaders are far more friendly to code in Godot than Unity. The boilerplate code needed is minimal, and learning GLSL feels more like a sandbox than shader coding. It’s still the same stuff, just less wordy and easier to get a simple result quickly.
That said, I wasn’t without my utter failures. After following a tutorial from Godot, I was left with this.
And this!
But you know what? It wasn’t the shader code at all. It ended up being my generated water mesh! It’s always the least expected culprit with these things. Indeed, I had forgotten to calculate the normals for the water mesh. Here’s the actual result with vertex displacement:
I also managed to get some vertex colors based on the height of each vertex. This is an ongoing change that I’m always trying to find better techniques for.
While I was messing with the terrain some more, I was adding so many noise layers that I decided to create a simple automated system for it. With the help of this json file, I’m able to add as many as I want now with ease, and I can even change what order they appear and quickly change their settings.
Alright. We’ve got some simple terrain we can mess around with now.
Let’s move on to something gameplay related. And by that I mean we’re going to spend the next week figuring out how to make an image display over everything in the world :3
Here’s the image that I want to show over every “resource node” in the world.
We need this icon to display over top of everything and seem to appear at the real position of the object in question. This will act as an indicator for the player to see that there is something of note at the highlighted location.
To begin, I set up some code to generate a mesh instance. Then, I set the mesh layer to be 20 (the last available sorting layer). Ignore “19” in this image
Then, I set this mesh as a quad and apply the texture to the material (which is a transparent material shown in the image above).
I then use a botched lookat function that I felt the need to use to have each icon look at the camera.
I then applied a Subviewport to a secondary camera and set the position of this camera to the main camera. These two are in charge of rendering the icons. Then the subviewport renders over top of the main Viewport. Here’s the result:
Notice how the icons are slightly tilted and look strange.
Then I added a function to control the opacity of each icon based on the inverse difference of the distance to the camera. Basically, further away means more transparent.
I also managed to fix a bug in my code that was causing the terrain to be repetitive and definitely not correct noise values. Here’s the result, looking far nicer than before.
It’s at this point I changed the material type to “billboard” which a friend pointed out was a feature. This caused my issues with the lookat I was using to not be a problem, and I decided to keep it this way as this was the way I was trying to make it look in the first place.
I also figured out how to create gradients for the terrain colors, and fell into a 12 hour rabbit hole of trying to get the terrain to look how I wanted.
I also began experimenting with more noise types
And then, after some trial and error with opacities and timing, I created a bit of a Radar effect for finding resources.
I also added this tiny Boop sound :)
I eventually realized that a fighter type ship doesn’t make sense for this kind of game, so I went back to the drawing board. This may have been a mistake because I now feel as though I have hit a wall in terms of development. There is a lot to design with the ship, and I’m finding that there are many features attached to the ship I hadn’t realized. One feature being collecting resources, another being detachable tools and storage. I will have to design this ship in its own environment, and my time may be better spent designing a world that is explorable and has resources that are collectible.
For now, I’ve started some concept designs.
After getting very distracted, I decided to add another feature (lol). I designed a compass using a shader and an image. This way, it is based on a simple float value. It actually took most of my time figuring out the right shader lines to use, but with some help from a friend I was able to create something simple and efficient.
Here’s what the texture looks like with nothing added. It’s just from South to North to South again. The S for South is cut in half because this way it tiles seamlessly when you repeat the texture. This is important so that the compass seems to be endlessly “rotating” as you turn through the world.
I started by proving that I could indeed change the colors of pixels in a texture in the UI. This was important because I wanted the text to fade out on the edges.
With some shader magic, a friend who is more familiar with shader code helped me complete what I started, enabling a shader-based mask for the texture.
After much troubleshooting various issues with the shader, I ended up with this. The shader takes the input mask, and the input shape. The shape, in this case, is the text “N NE E…” etc. This is a texture with a transparent background. The shader uses the shape as a cookie cutout to remove the mask shape wherever there are pixels in the shape texture. Then, the mask shape is used as the background and opacity for the shape. So the opacity of any pixel in the mask shape will be used for the opacity of the shape. Here’s the outcome:
And here’s the fragment of the shader. It’s amazing what 3 lines of shader code can do.
Once the compass was finished, I returned to terrain-related content. This time, I added resources.
I spawned my first resource, the first mineral node, at a random vertex using a seed. I also oriented the node to the average normal direction of the vertices below.
After this, I got distracted (noticing a theme?) by threading. The world looks nice, but it was taking upwards of 30 seconds to generate, and you couldn’t do anything until all the tasks were finished (due to my use of async functions). So I created threads for each task and ran them simultaneously. Now, the world loads within 5 seconds and is able to generate everything all at once (almost).
After threading everything important, I… got distracted. This time the culprit was State Machines. I saw a video about them and thought they might be useful, so I started creating one. For what? Not sure. But I made one! I won’t go over that in this post, as it’s far out of the scope of this one.
However, I did end up creating some AI classes! These classes I’m calling Actors, inspired by the naming convention Unity uses for their AI system. It’s also not a keyword used anywhere in Godot (yet) so I felt comfortable adapting the terminology.
I won’t explain it right now, but here’s a sneak peak at an actor class inheriting my base abstract classes.
Well, that’s all I have for now. I’d love to stay and chat, but it’s late. Until next time!